Register for Your First Competition
In this tutorial, we will register for a CrossFit competition on WODsmith. By the end, you will have an account, a confirmed registration, a chosen division, and a clear path to event day.
What We'll Accomplish
- Find a competition
- Create an account (if needed)
- Select a division
- Complete registration and waivers
- Confirm and orient yourself for event day
Step 1: Find the Competition
First, locate the competition.
- Open the link the organizer shared, or visit the gym's WODsmith page.
- The public landing page shows the event name, dates, location, sponsors, and registration status.
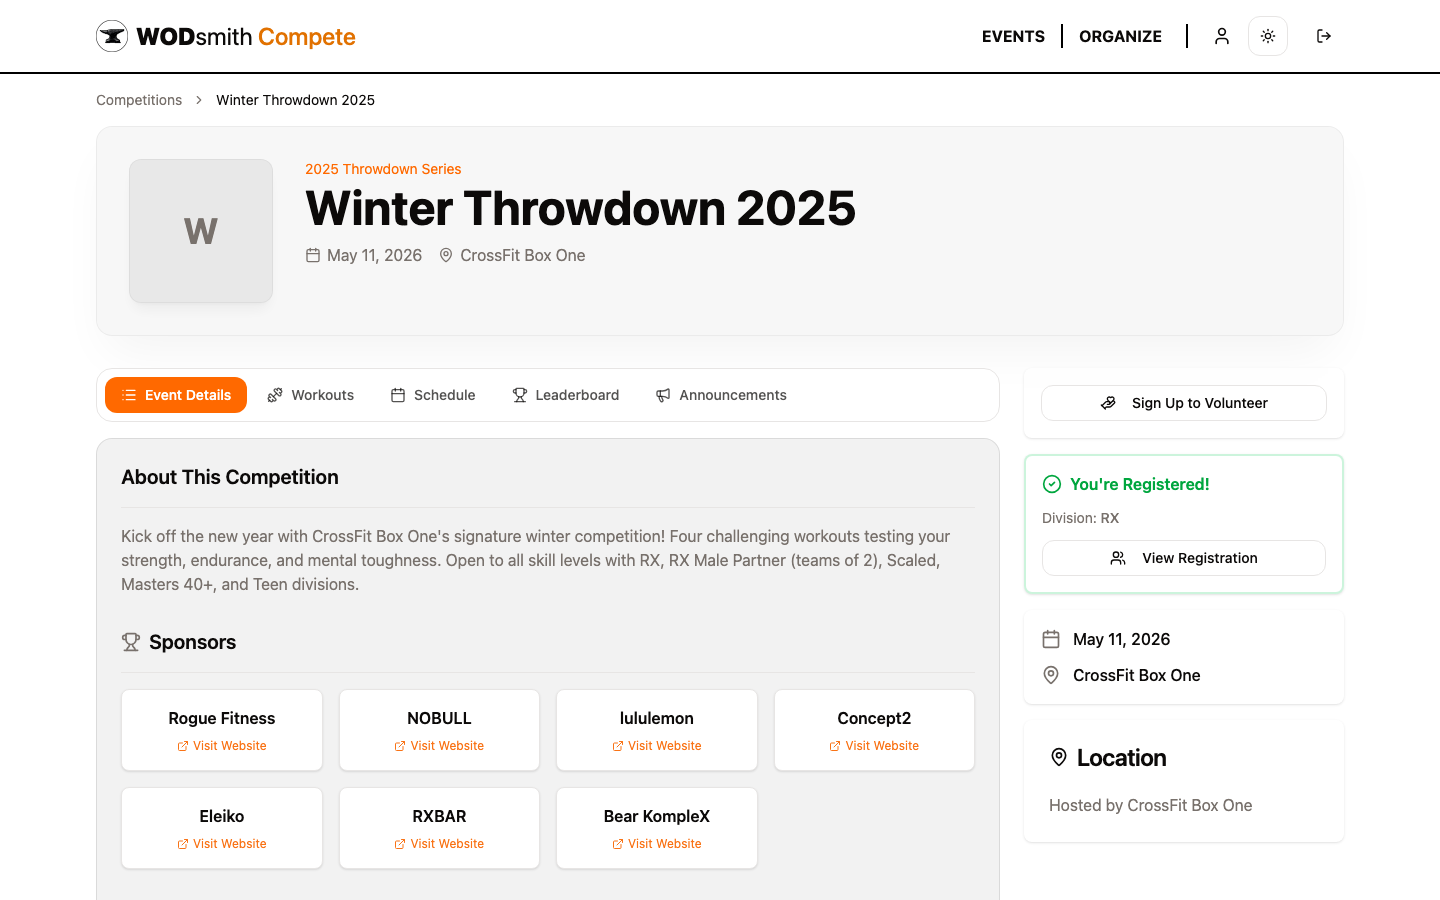
Notice the right-hand panel — when you're not yet registered, it shows a Register button. After you register, the same panel turns green with You're Registered! and shows your division.
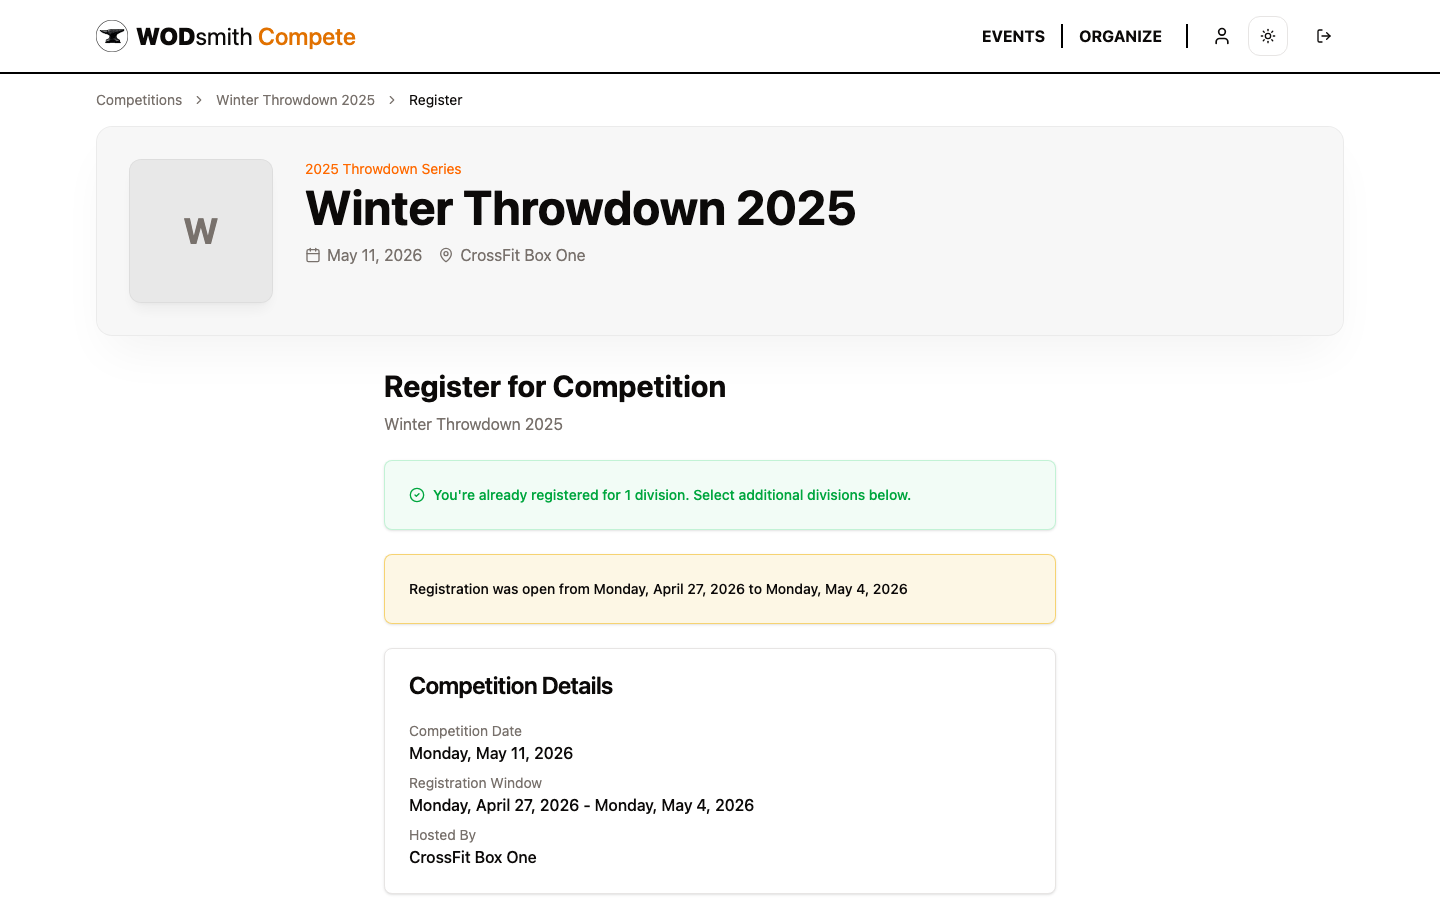
Step 2: Start Registration
- Click Register on the landing page.
- If you're not signed in, you'll be sent to the sign-in page first.
Creating an Account
If you don't have an account yet:
- Click Sign Up on the sign-in page.
- Enter your email and create a password.
- Verify your email when the verification link arrives.
Your WODsmith account works across every gym and competition on the platform — you only ever need one.
Step 3: Select Your Division
The registration form lists every division the organizer configured.
Each division card shows:
- Name (e.g., RX, Scaled, Masters 40+)
- Team size — solo, pairs, or team
- Capacity remaining, if a cap is set
- Fee — registration price for that division
Notice that team divisions (size > 1) ask for a captain — the captain registers first, then invites teammates by email. Teammates accept their invite from their own inbox and complete the form independently.
Common divisions:
- RX — prescribed weights and full movement standards
- Scaled — modified weights and substituted movements
- Masters 40+ / 50+ — age-grouped fields
- Teens — age-grouped, often with reduced weights
- Partner / Team — team divisions (size 2 or 4)
Step 4: Complete Your Information
Fill in your registration details:
- Personal info — name, date of birth, gender (used for division eligibility)
- Affiliate — the gym you train at (used in leaderboard team columns)
- Emergency contact — most organizers require this
- Custom questions — set by the organizer (T-shirt size, dietary restrictions, etc.)
Required fields are marked with *. The form won't submit until they're all complete.
Step 5: Sign the Waiver
Most competitions require an electronic waiver before paying.
- Read the waiver text — it's a real legal document.
- Check the acknowledgment box.
- Type your full legal name as the signature.
The signature is timestamped and stored as part of your registration. The organizer sees signed status in their athlete list and can re-send waivers if any are missing.
Step 6: Pay (or Skip Payment)
If the division has a registration fee, you'll be redirected to Stripe Checkout. Free competitions skip this step entirely.
After payment, you land on the confirmation screen and receive a confirmation email.
Step 7: Confirm and Explore
Once registered, the competition page changes for you:
- The right rail shows You're Registered! with your division
- A View Registration button opens your registration details (where you can edit answers, manage teammates, sign waivers, etc.)
- The tabs — Workouts, Schedule, Leaderboard, Announcements — populate with your event's content
You can also see all your competitions at once on /compete/athlete:
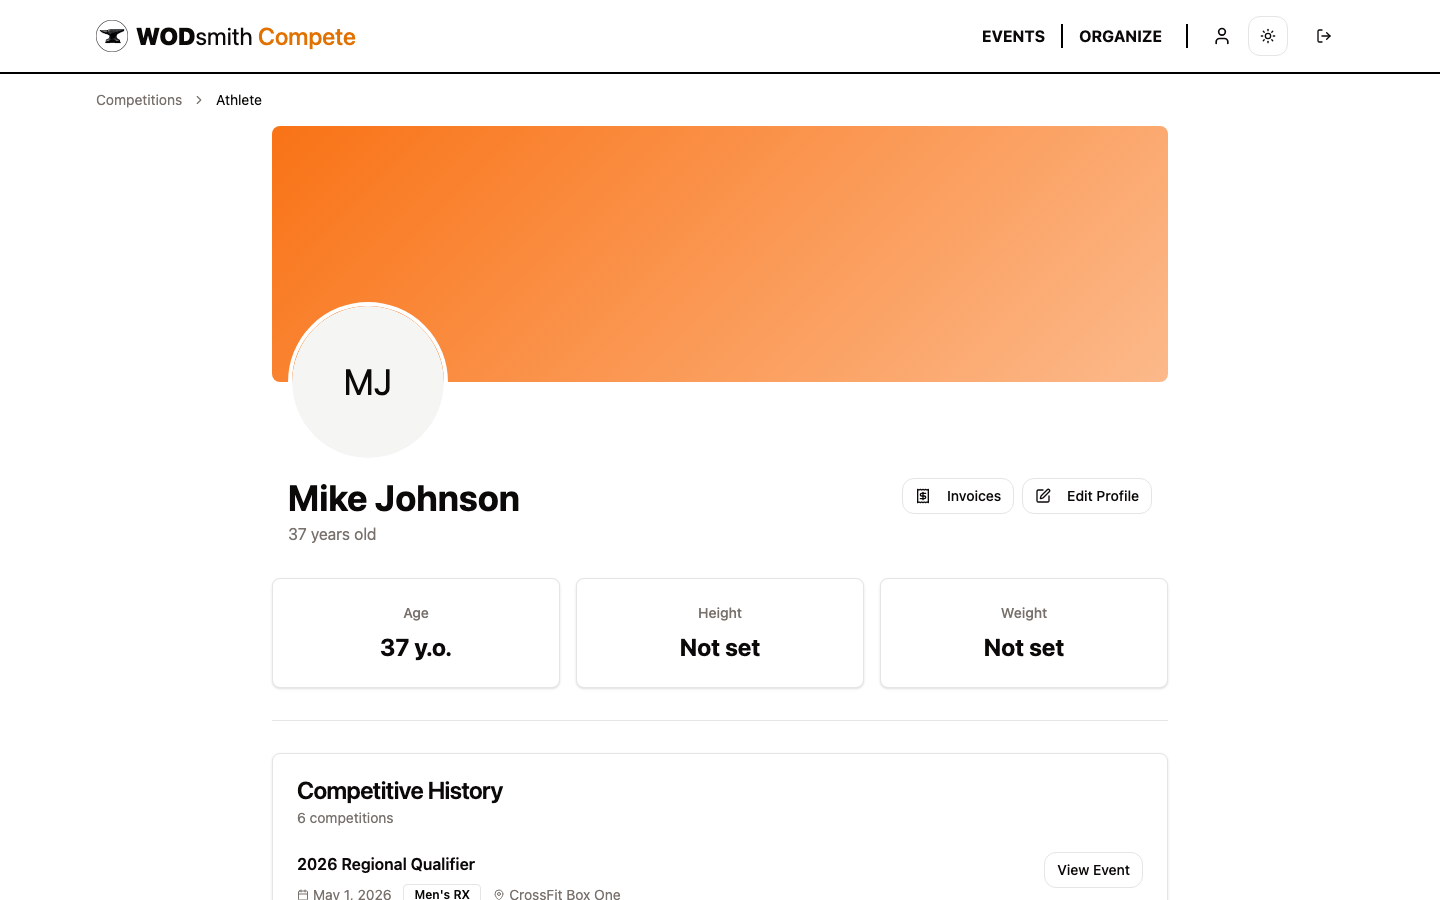
This page lists every competition you've registered for, your competitive history, your invoices, and your editable profile.
You've Done It!
You're registered. Your confirmation includes:
- Confirmation number
- Division assignment
- Receipt (if you paid)
- Reminders about upcoming dates
What's Next
- View your heat schedule once heats are published
- Review the workout standards so you can prepare
- Track standings on the leaderboard during the event
- Read announcements the organizer posts before and during the competition
Need to make changes? Open the competition, click View Registration, and most fields can be edited up to the registration deadline. Beyond that, contact the organizer.